- If you do not have a Repl.it account navigate to the Repl.it site and create a new account.

- Once you are logged in, look for the + Create button on the top of the left side bar; click on the button (see adjacent image)
- Click on the Import from Github button on the top right of the popup window. Click on from URL at the top of the window and enter the following URL: https://github.com/BridgesUNCC/bridges-cpp-replit-template. Finally, click on the Import from Github button.
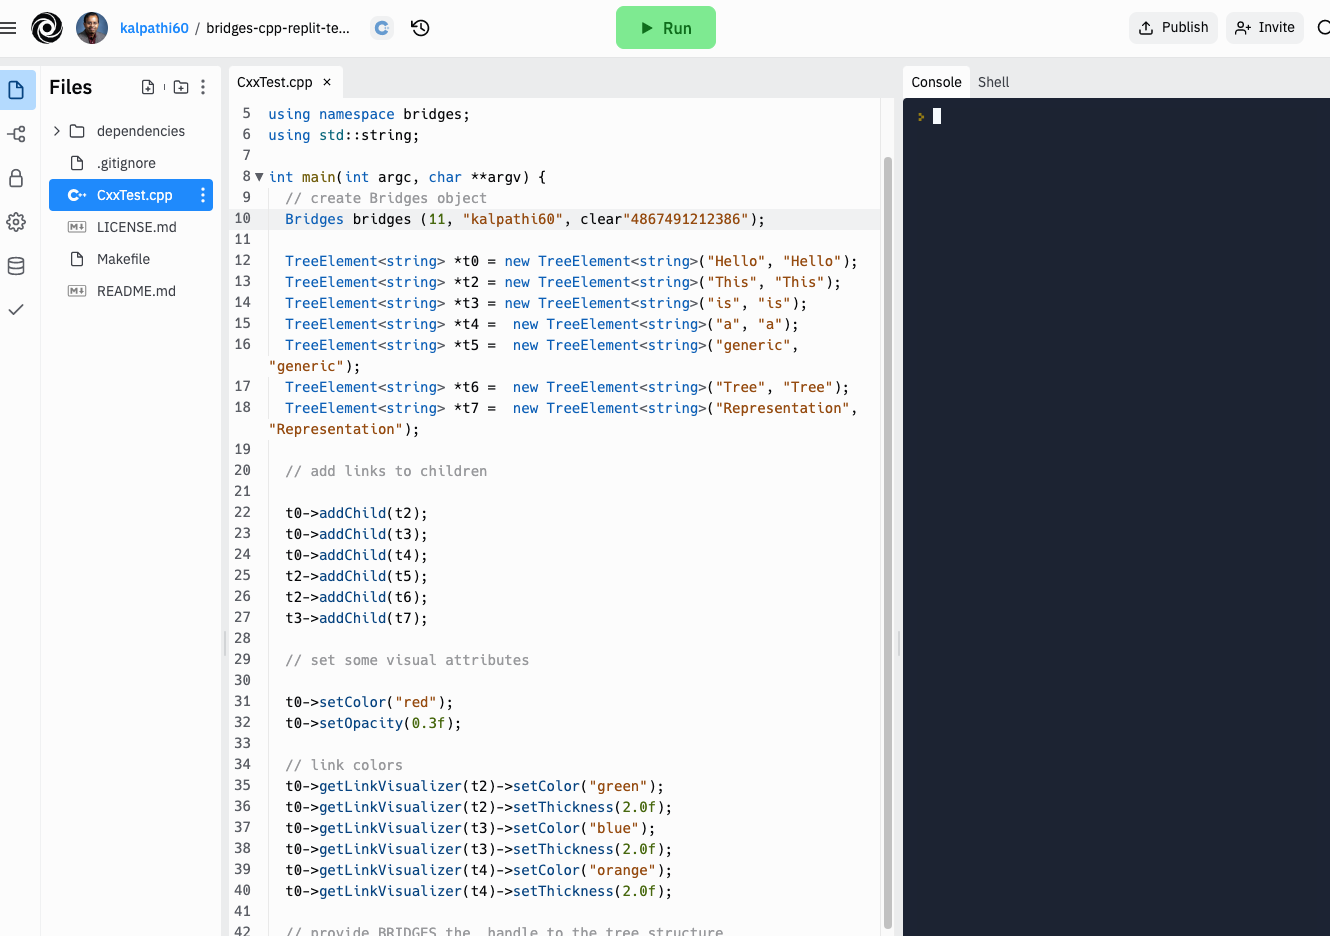
- The BRIDGES program will load (takes a few seconds!) and you you will see the IDE popup wih an editor on the left and a console on the right (see adjacent image). Click on the file CxxTest.cpp and you will see the trivial BRIDGES Hello World program.


- Go to the BRIDGES Tutorial site and copy/paste a C++ tutorial program into the main window.
- Set an assignment number, and your credentials (assignment number, BRIDGES user name and API key) in the line that creates the Bridges object at the beginning of the program.
- Run the program by hitting the Run button
- You will see a link printed on the console. Use that to visualize the output.

- For Instructors: The easiest way to get students set up with
replit is as follows:
- Create a C++ Replit template as detailed above (Steps 1,2, 3).
- Decide on the scaffold C++ program you want to create for your students to get started on your assignment and make that part of the Repl; if this has more than 1 source file, then these can be added to the Makefile in the SRCS line.
- Save the repl and go back to your list of repls.
- Publish your repl (blue button on the top right); follow the steps and you will see a link that can be transmitted to the students
- Students can use the link to clone the repl and get started on their assignment; they will need no additional setup, unless they add new source files, or change their source file names, etc (Makefile will need editing).
- Each new repl (BRIDGES program) will require the above steps to access the BRIDGES API.
- Note that a specific BRIDGES program might require additional include files. Refer to the BRIDGES C++ documentation and BRIDGES Tutorials for additional help.
- A typical C++ program will have multiple source and include files. The additional source files must be specified in the Makefile that is part of each project. Additional source files will be added to the SRCS line in the Makefile. The example illustrated above shows a program with a single source file, CxxTest.cpp