Step 1: Install Eclipse
- If you do not have Eclipse
installed, download it from the
Eclipse site
and install it on your computer .
Step 2: Create Bridges Account
- Visit the Bridges
main page and create yourself an account
by clicking the login button
on the top navigation bar. Click "Sign Up! near the bottom of the page"
- Please ensure that
your user id is devoid of spaces (good idea to use your school
email id), as it will be
used as part of the web link for your projects.
- After creating your account, click the profile tab
in the upper right corner. Here you will see your account details and API Key; you will need this API key later in the tutorial(as well as in every BRIDGES program
you write).
- NOTE: Make sure to remember
your password. There is no password recovery option,
and you can only have one account per email address.
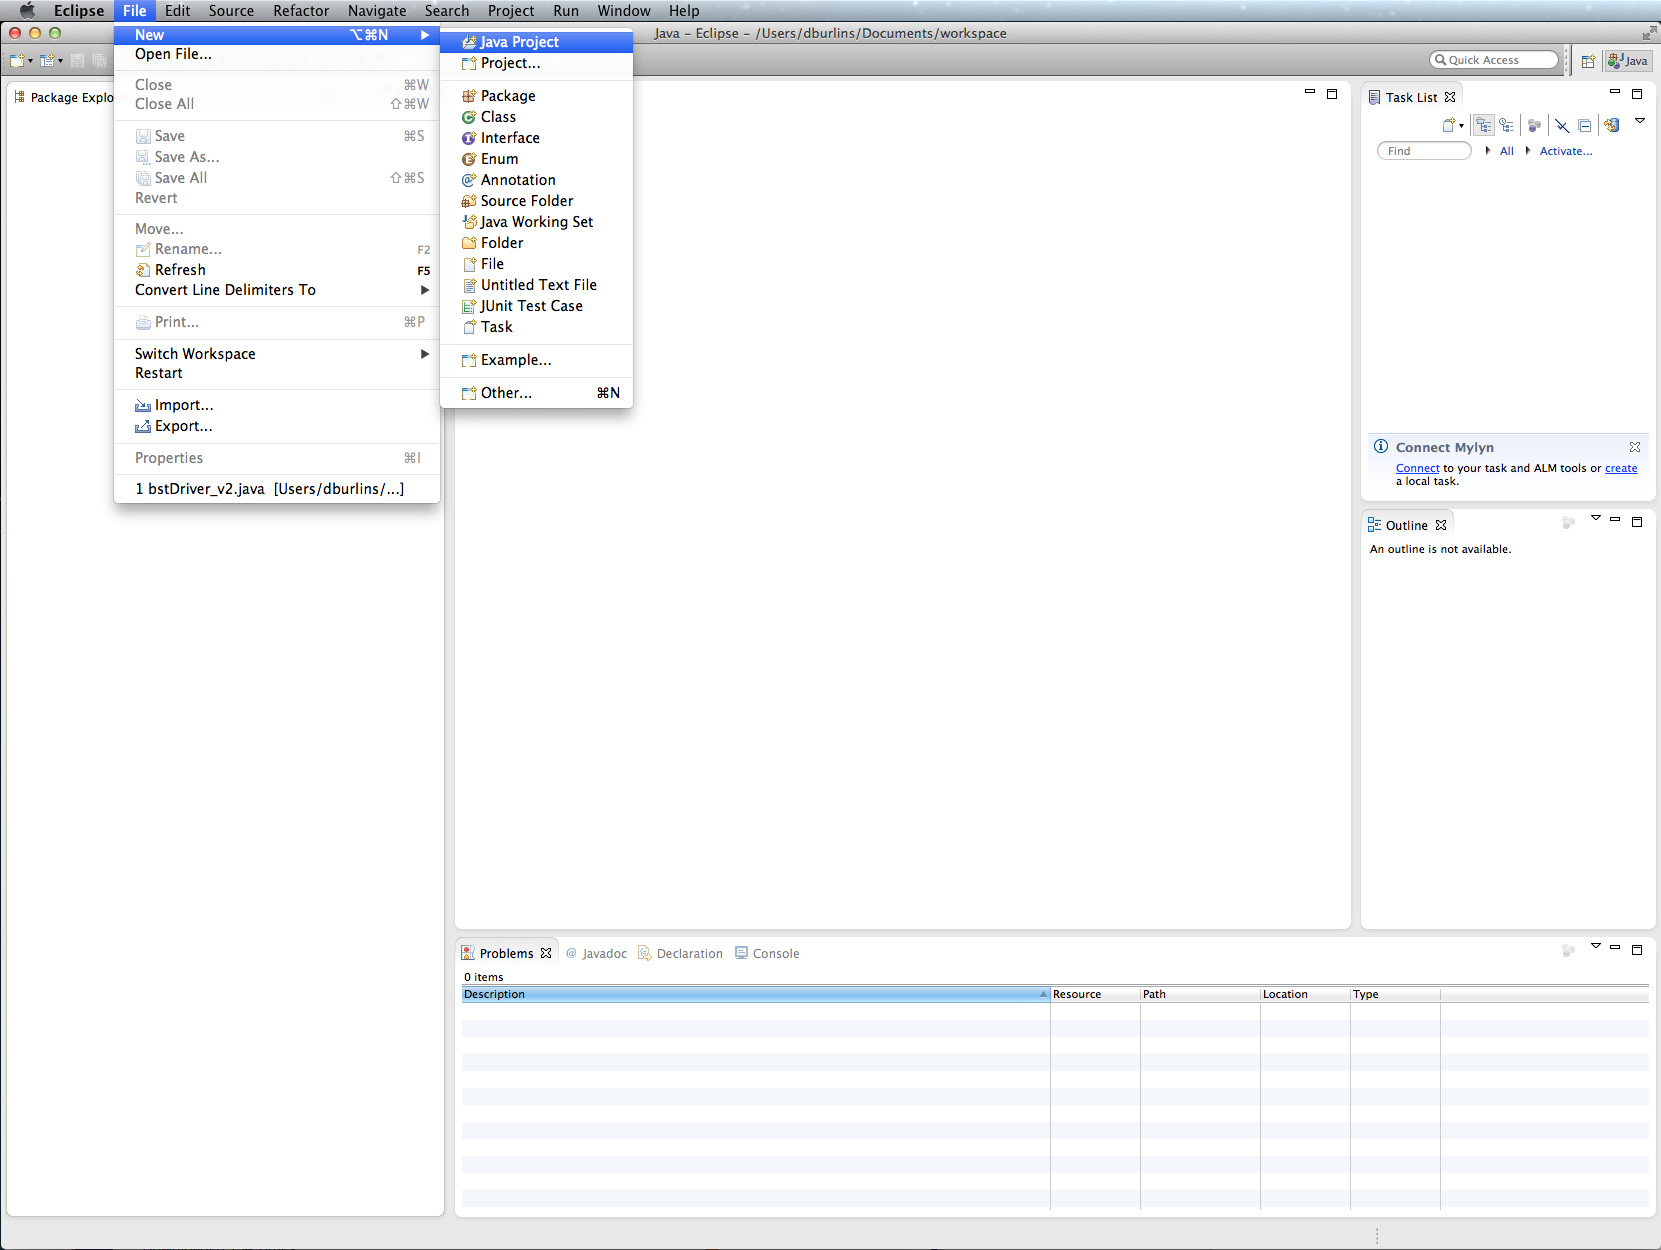
Step 3: Create a Java Project
- File-->New-->Java Project
|
|
Step 4: Check Java version
- In the new window, change the Project name
field to your project name, then make sure the
JRE Execution Environment is JavaSE-8 or above .
Here we are using Java version 17.
Click Finish in the lower right-hand corner.
|

|
Step 5a: Import Jar File into project
- Download the latest Bridges Jar file from
Bridges home page and save it somewhere convenient on your drive.
- In Eclipse, right-click on your project in the
Package Explorer window and then click on
Build Path --> Add External Archives. This should open your system's file explorer.
|
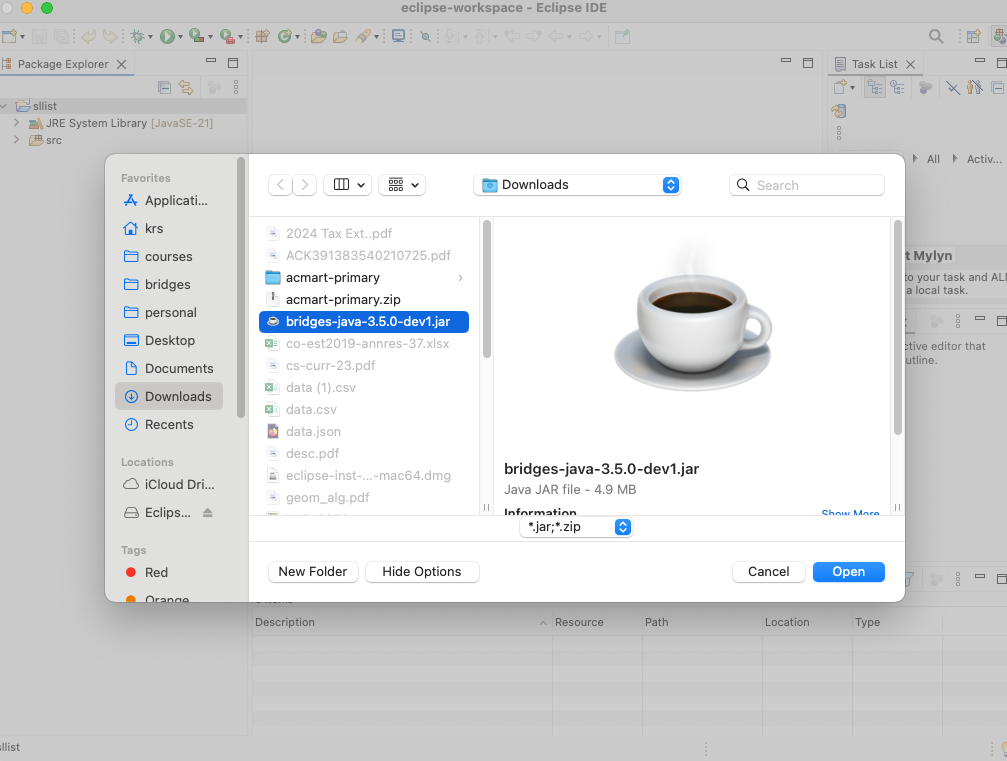
Step 5b: Import BRIDGES Jar file
- Locate and select the Bridges.jar file you saved
earlier (bridges-java-LATEST.jar) to import it into your project.
|
|
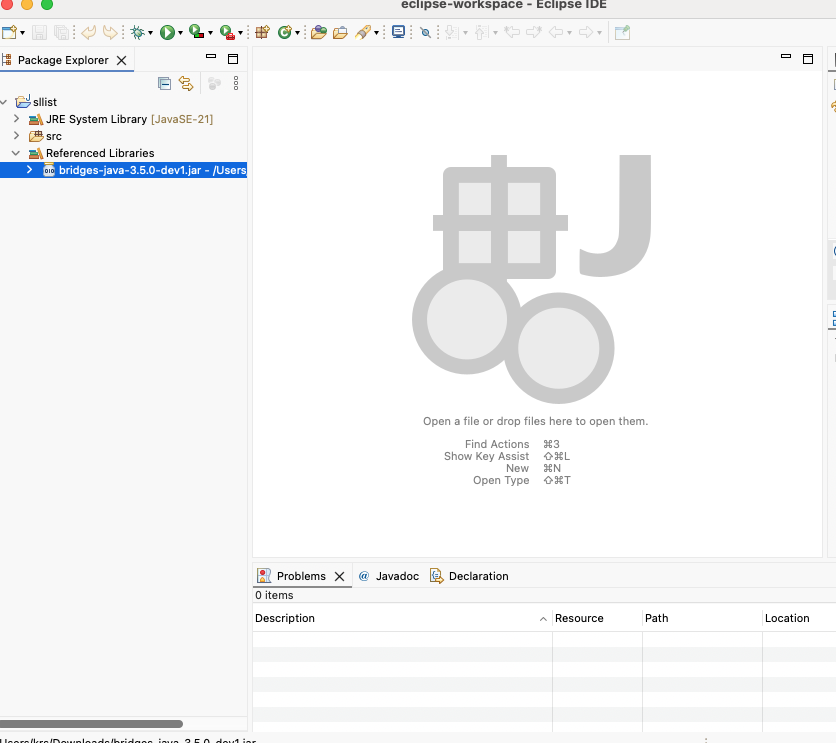
Step 6: Verification
- To verify that you have successfully imported the Jar
file, look under the Referenced Libraries section of
your project in the Package Explorer window in Eclipse.
- If the bridges Jar file shows up under this section,
you have completed the setup and are ready to build
the Singly Linked List class!
|
|
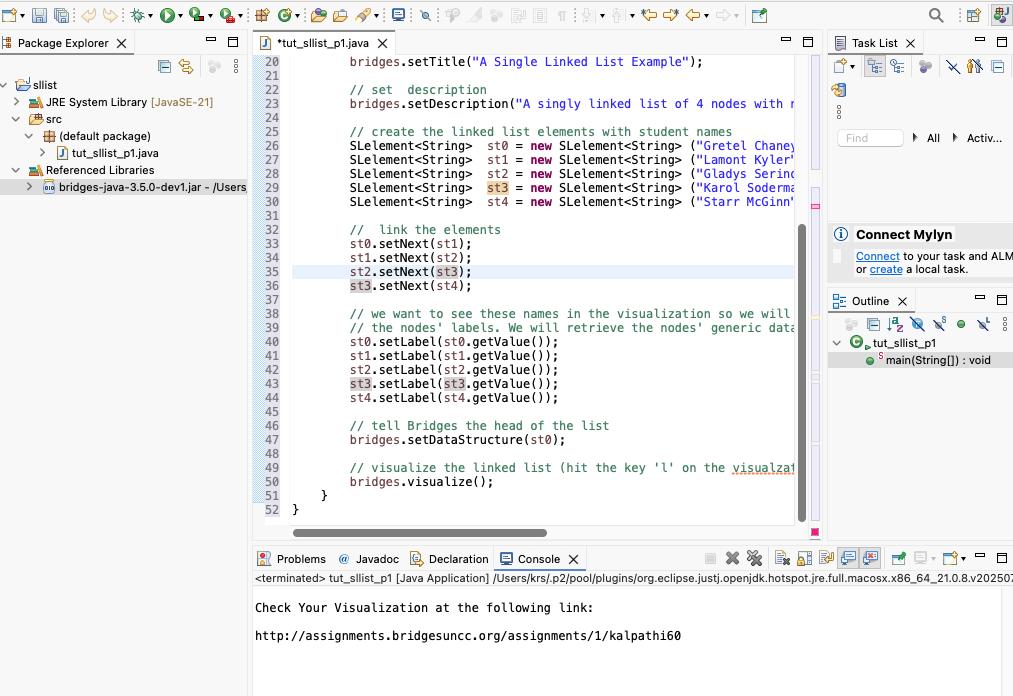
Step 7. Load and Run a BRIDGES Example program.
- Go to this
BRIDGES Tutorial and copy/paste the Java tutorial program into
the main window into a new file. Make sure the file name matches the class name!
- Initialize the Bridges object with an assignment number (can be any num) and your user ID and api key from earlier.
- Run the program by hitting the Run button (Run it as a Java application)
- You will see a web link printed on the console. Navigate to
the site to visualize the output. Congratulations!
|
|