Step 1: Install jGRASP
- If you do not have jGRASP installed, download it from the jGRASP site and install it on your computer.
- jGRASP requres Java 1.6 or higher to be installed, else you will get the error "Unable to locate a java executable. Java 6 or higher must be installed to run jGRASP."
|
Step 2: Create Bridges Account
-
Visit the Bridges main page and create an account by clicking the login button on the top navigation bar.
- In the new window, click 'Sign Up!' near the bottom of the page.
- Make sure your user ID is free of spaces!
- After creating your account, click on the profile tab in the upper-right corner.
In this view, you will see your account details and API Key; you will need this API key later in the tutorial(as well as in every BRIDGES program you write).
NOTE: Make sure to remember your password. There is no password recovery option, and you can only have one account per email address.
|
Step 3: Create a Java Project
- In JGRASP, Open Project-->New
- Follow the Project menu directions and create a Java Project at a convenient location. This will create a new folder on your drive.
|
Step 4: Import Jar File into project
- Download the Bridges (Java) from the BRIDGES website and save it in a convenient place on your drive.
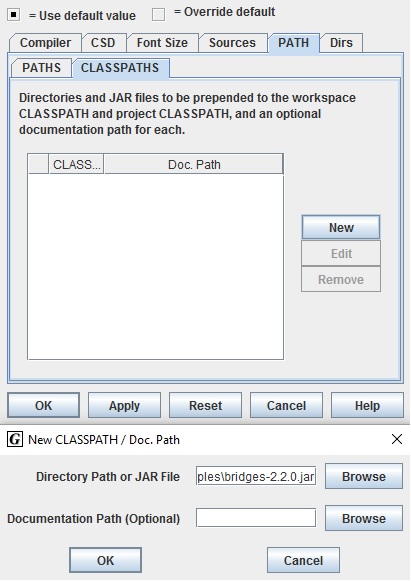
- In jGRASP, Open Settings-->PATH/CLASSPATH-->Project and select the CLASSPATH tab.
- Click the New button, and enter the path to the Bridges JAR file.
|  |
Step 4: Create, Build, Execute a BRIDGES Java Program
- Open File-->New-->Java
- Go to this
BRIDGES Tutorial and copy/paste the Java tutorial program into
the main window by creating a new file. Save the file and make sure file name
matches the class name.
- Set an assignment number, and your credentials (user name, API key) in the
line that creates the Bridges object at the beginning of the program.
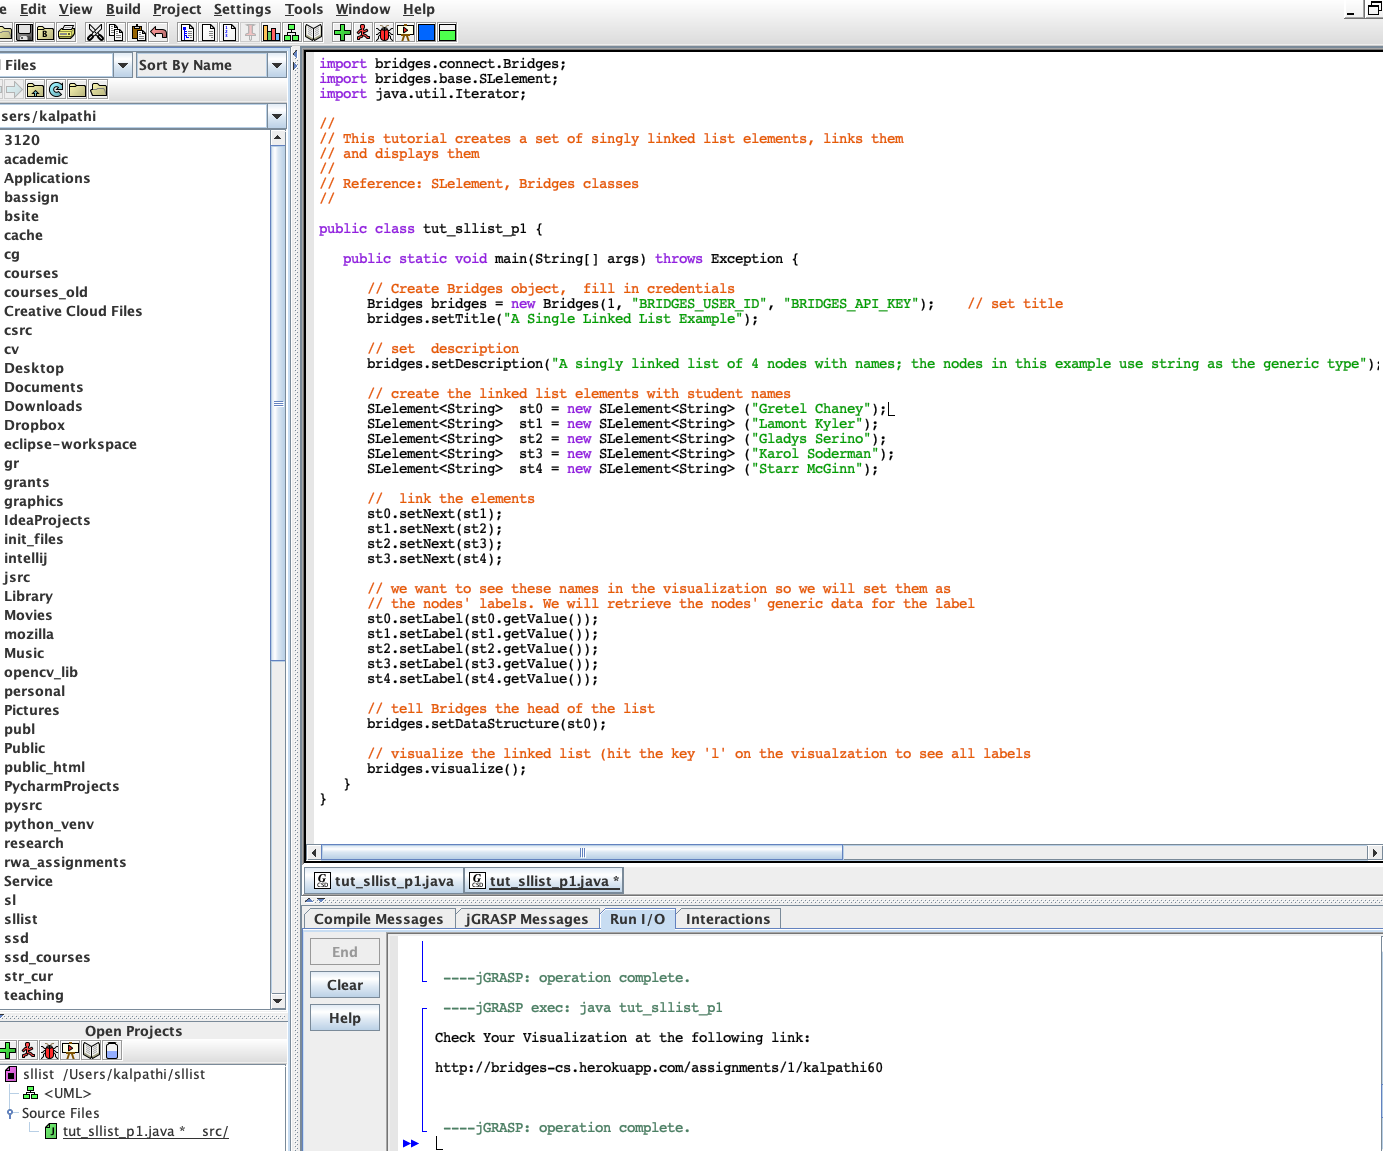
- Compile the program by hitting the Build-->compile button followed
by hitting the Buile->Run button .
- If there are no errors, you will see a link printed on the console. Use
that to visualize the output as seen in the image.
|
 |