Step 1: Install NetBeans
- If you do not have NetBeans
installed, download it from the
NetBeans site
and install it on your computer.
Step 2: Create Bridges Account
- Visit the Bridges
main page
and create yourself an account by clicking the login button
on the top navigation bar. Click "Sign Up!" near the bottom of the page.
- Please ensure that your user id is devoid of spaces, as it will be
used as part of the web link for your projects.
- After creating your account, click
on the profile tab in the upper right corner to
view your profile. Here will see your account details and
API Key; you will need this API key later
in the tutorial (as well as in every BRIDGES program
you write).
- NOTE: Make sure to remember
your password.
Step 3: Create a Java Project
- Open the Netbeans IDE
- File-->New Project-->Java with Ant-->Java Application-->Next
|

|
Step 4: Name Project
- In the new window change the Project name and choose a path. Click Finish.
|

|
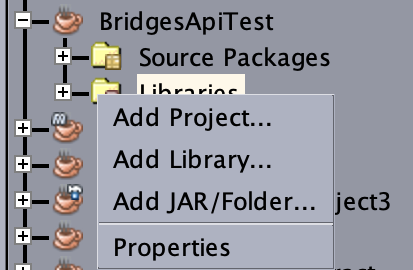
Step 5a: Import Jar File into project
- Download the Bridges.jar file from
Bridges home page (Downloads --> Java Client) and save it somewhere convenient on your drive.
- On NetBeans, right-click on the libraries folder under the project in the
Package Explorer window. Click:
Add Jar/Folder
| 
|
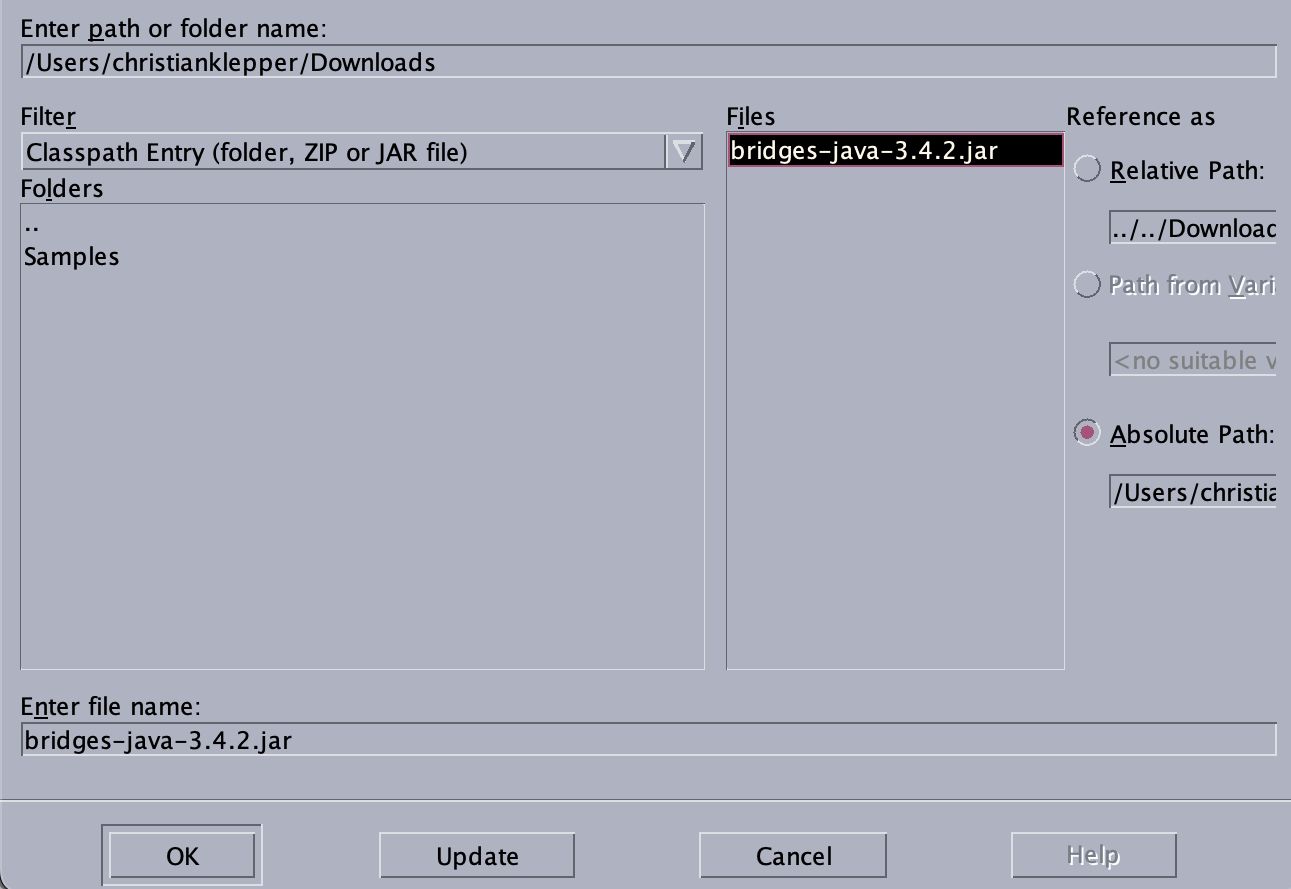
Step 5b: Import BRIDGES Jar file
- Navigate to the Bridges.jar file you downloaded earlier.
- Click open once the file is selected. This will add the Bridges library to your project
|
|
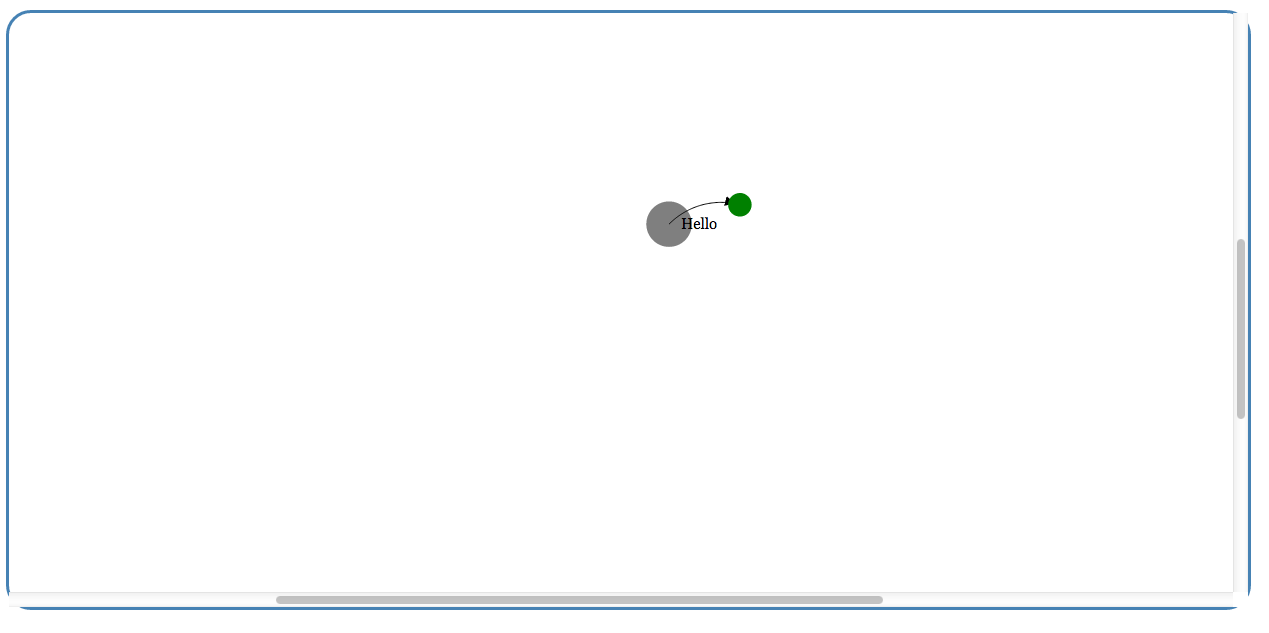
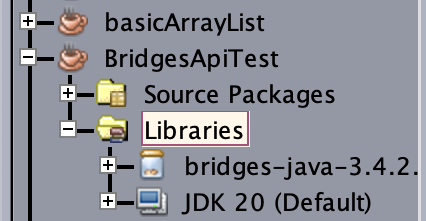
Step 6: Verification
- To verify that you have successfully imported the Jar
file, look under the Libraries section of
your project in the Package Explorer window in NetBeans.
- If you have got a Project in the NetBeans Package
Explorer, and the referenced libraries section shows the bridges Jar file,
you have completed the setup and are ready to build
the Hello World class!
|
|