Step 1: Install PyCharm
- If you do not have Pycharm
installed,
download Pycharm
and install it on your computer.
Step 2: Create Bridges Account
- Visit the Bridges
main page and create yourself an account
by clicking the login button
on the top navigation bar. Please ensure that
your user id is devoid of spaces, as it will be
used as part of the web link for your projects.
After creating your account, click on your profile
name in the upper right corner to view your
profile. Once in your profile, you will see your
API Key; you will need this API key in part 2
of the tutorial(as well as in every BRIDGES program
you write).
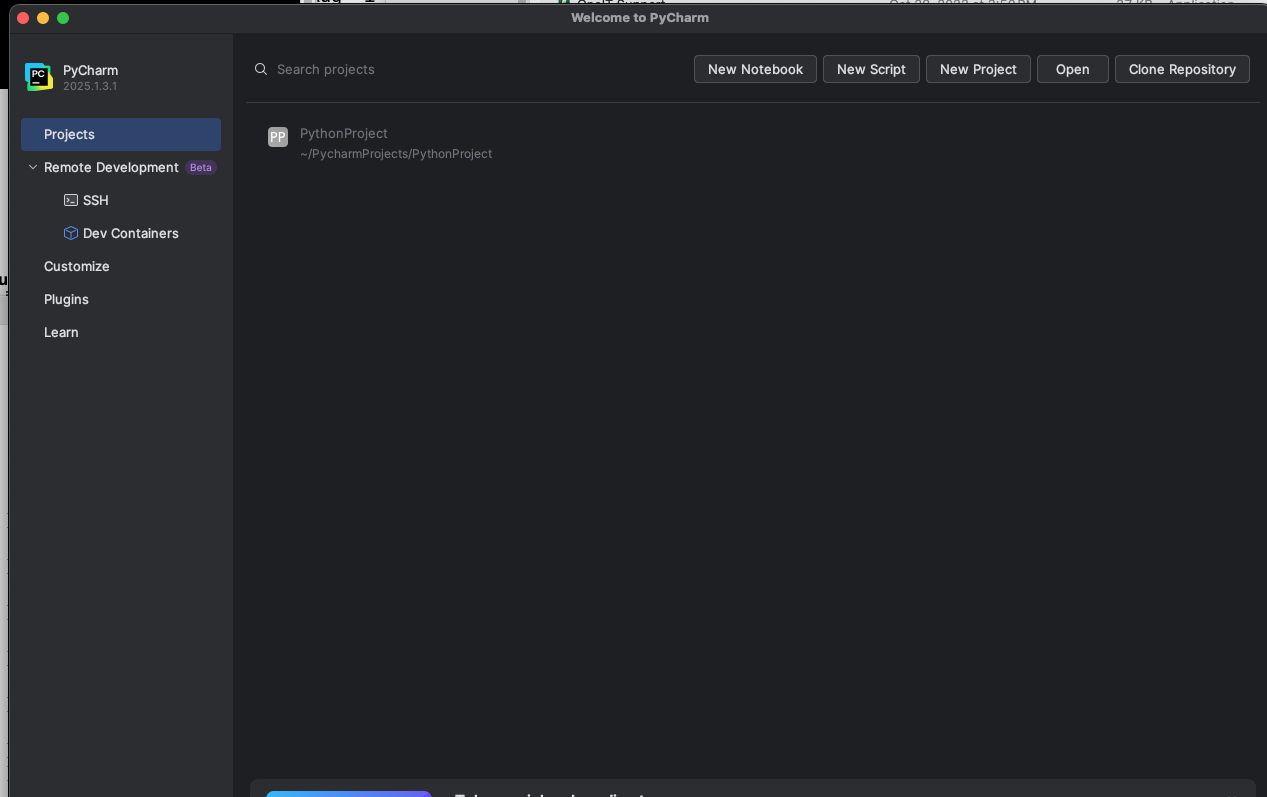
Step 3a: Pycharm Environment Setup
- Open the Pycharm application, you should see something like this:
|
|
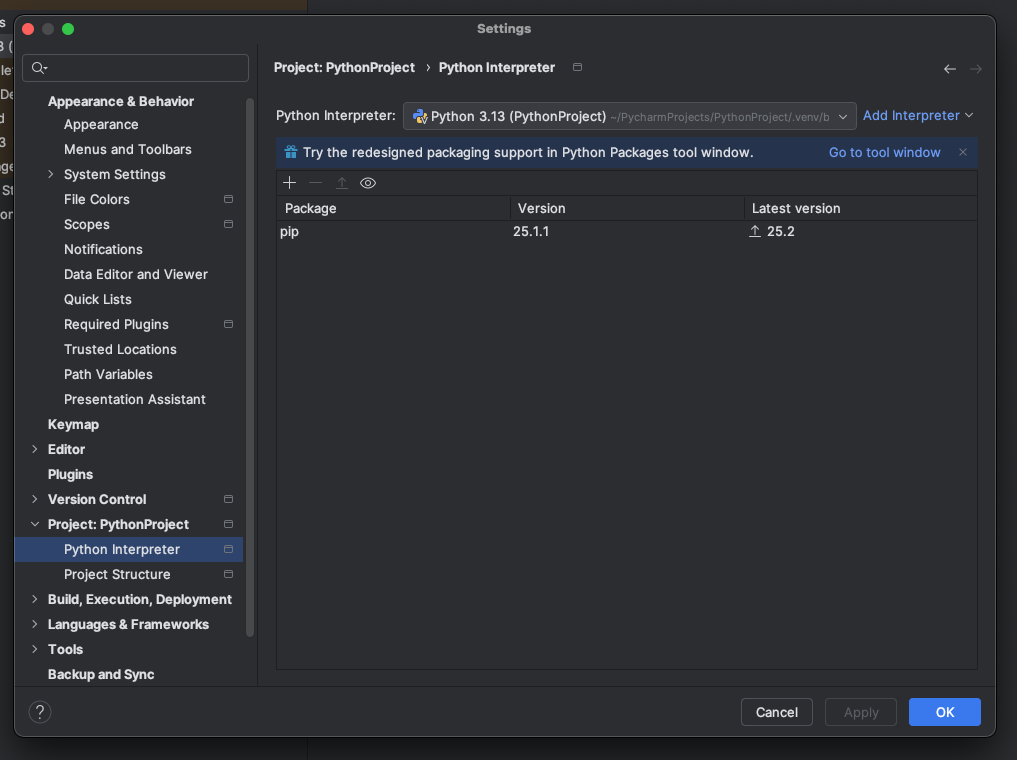
Step 3b: Create project, check Python interpreter,
environment location
- Create a new project (using the File Menu), name it appropriately,
note its location on your
filesystem and click Create
- Open File->Settings and look at Python Interpreter button
under Project: PythonProject
- Note: your system should have python 3.8 or higher installed for
BRIDGES to work properly.
|
|
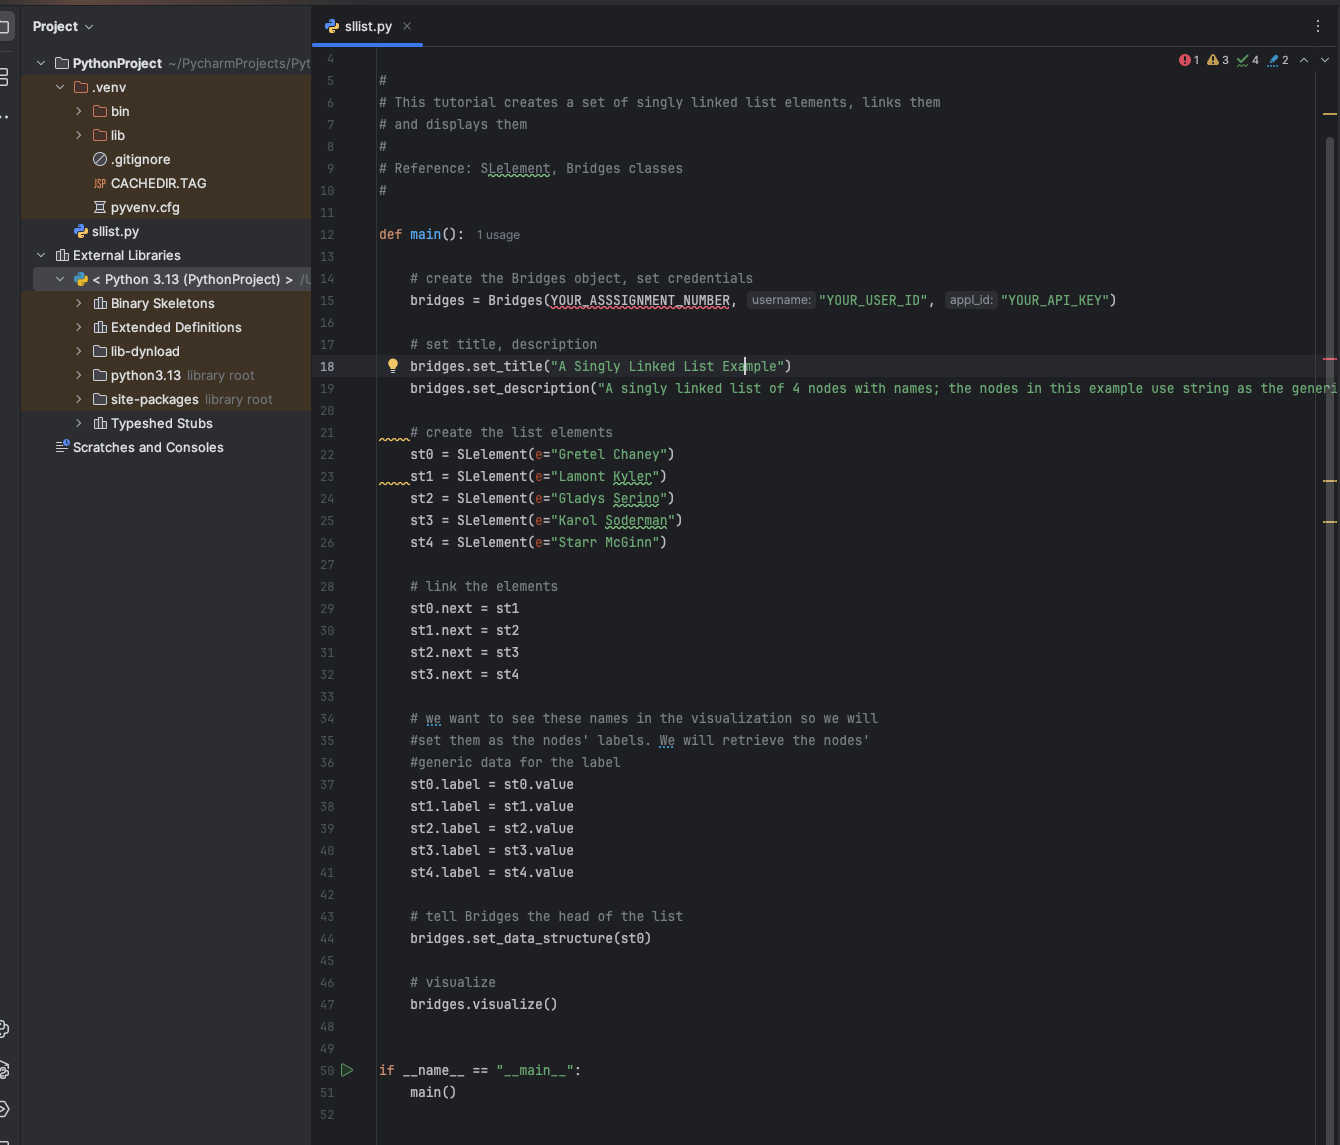
| Installing Bridges. When you hit the
Python Interpreter button, you will see the packages already installed,
which currently shows the pip package. Click on the + button. This will
will bring up a window and type bridges in the search bar. This will
bring up bridges package and you will then hit the install button to
install bridges
|

|
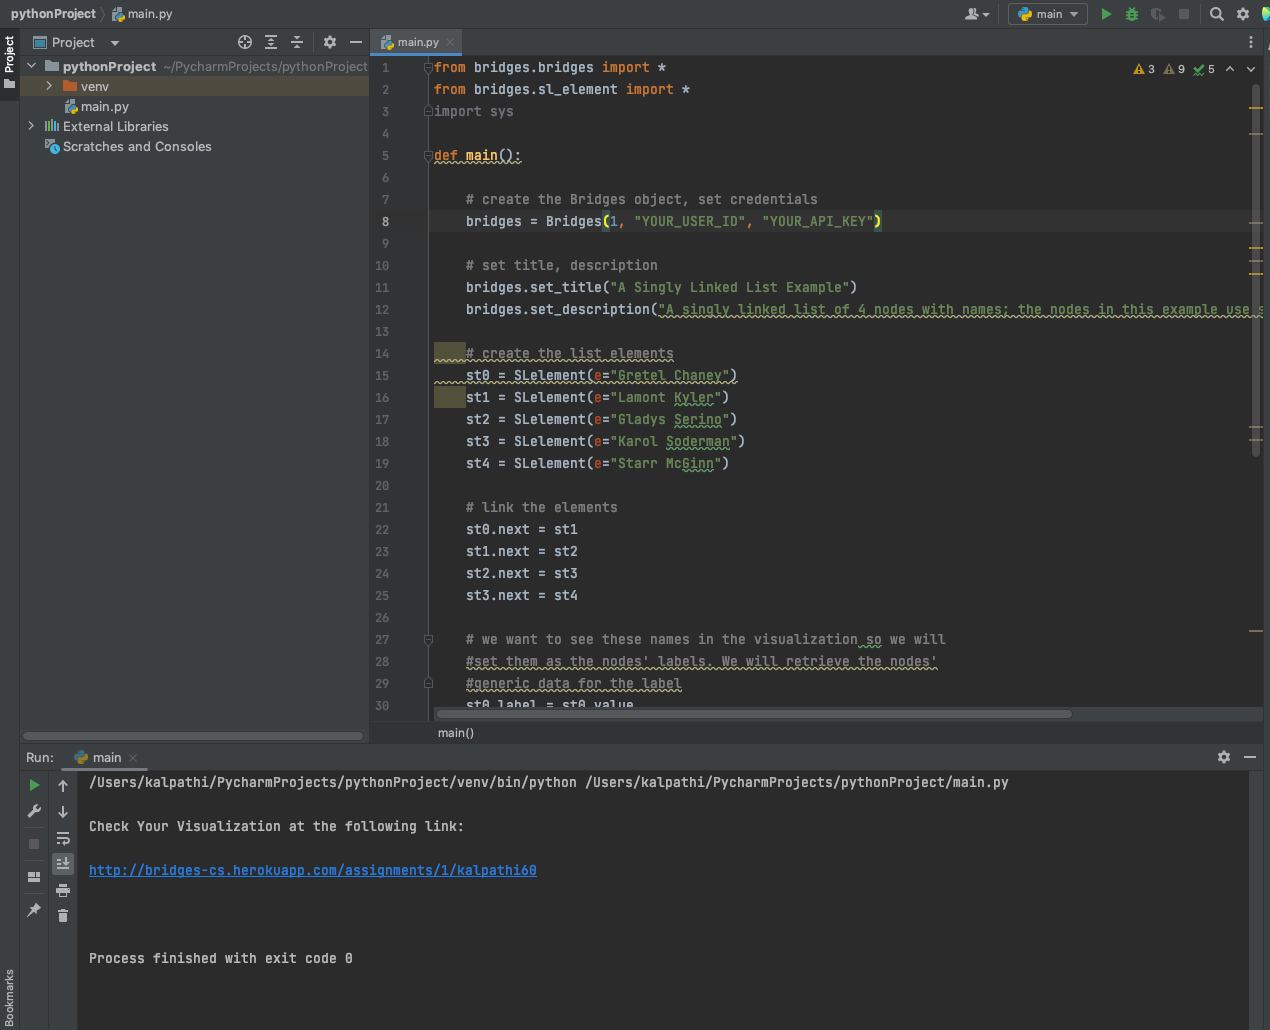
Step 4a: Load and run an example BRIDGES program
- Go to this
BRIDGES Tutorial site and copy/paste a python tutorial program into
the main window.
- Set an assignment number, and your credentials in the line that creates
the Bridges object at the beginning of the program.
- Run the program by hitting the play
- You will see a link printed on the console. Use that to visualize the
output.
|
|
Running additional BRIDGES programs.
- Look at the BRIDGES Tutorials pages for additional BRIDGES programs.
- When you create subsequent BRIDGES programs, you can reuse the environment you
created above for your first BRIDGES program. During the
environment setup (Step 3b) pick the environment you created
for the first project. This will let you use the BRIDGES packages
from the environment; else you will have to install BRIDGES again!
|
|