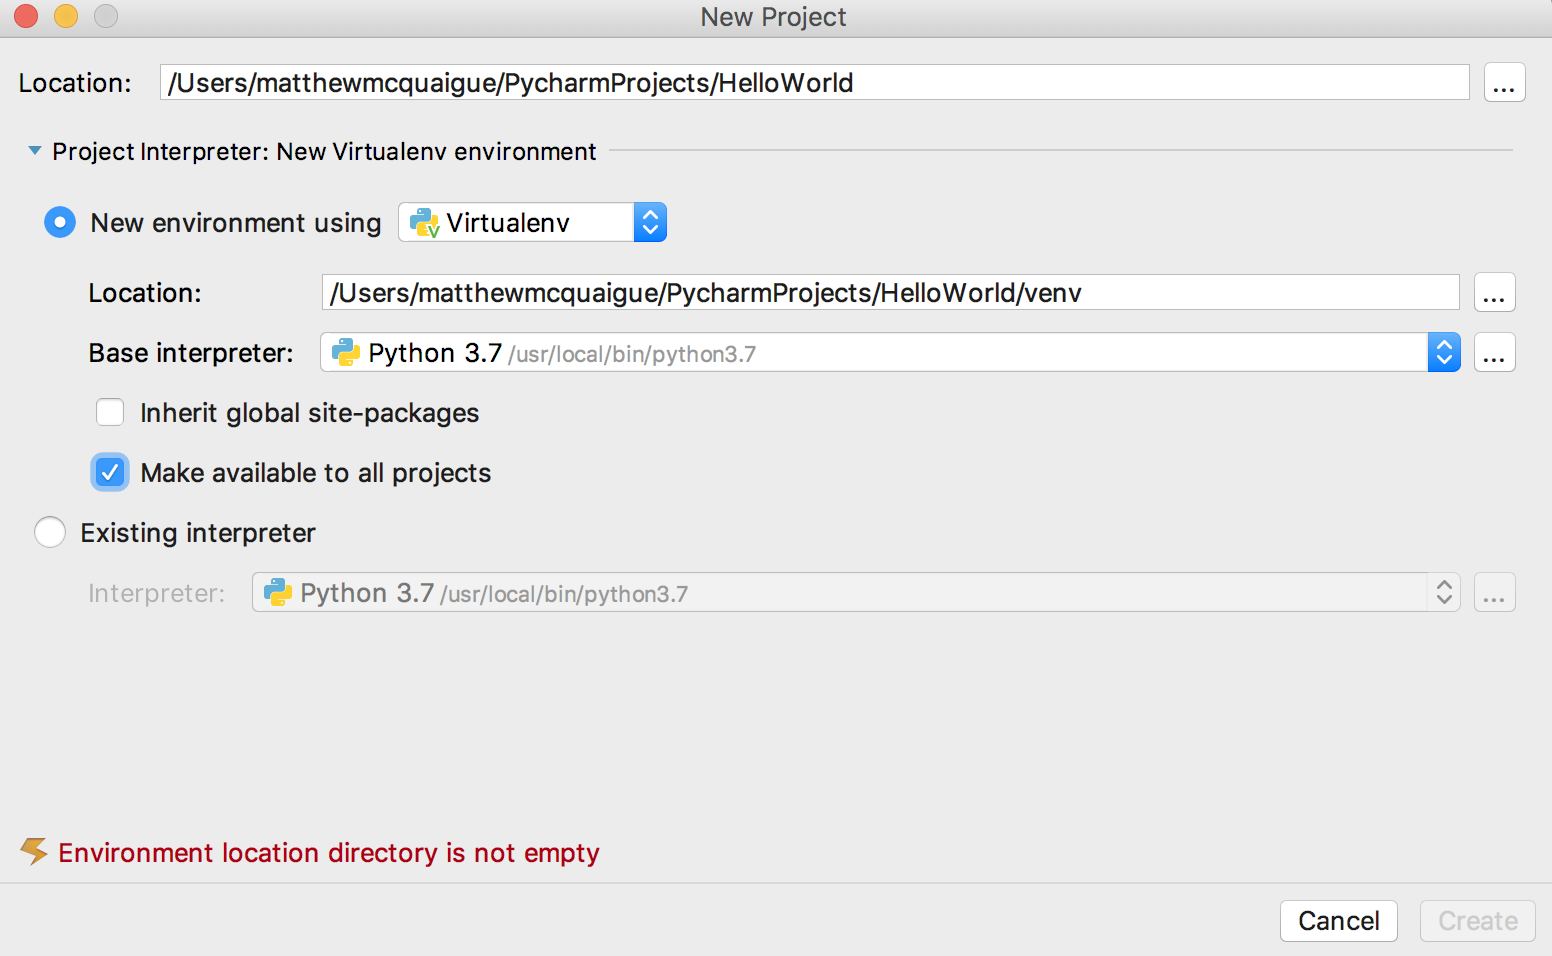
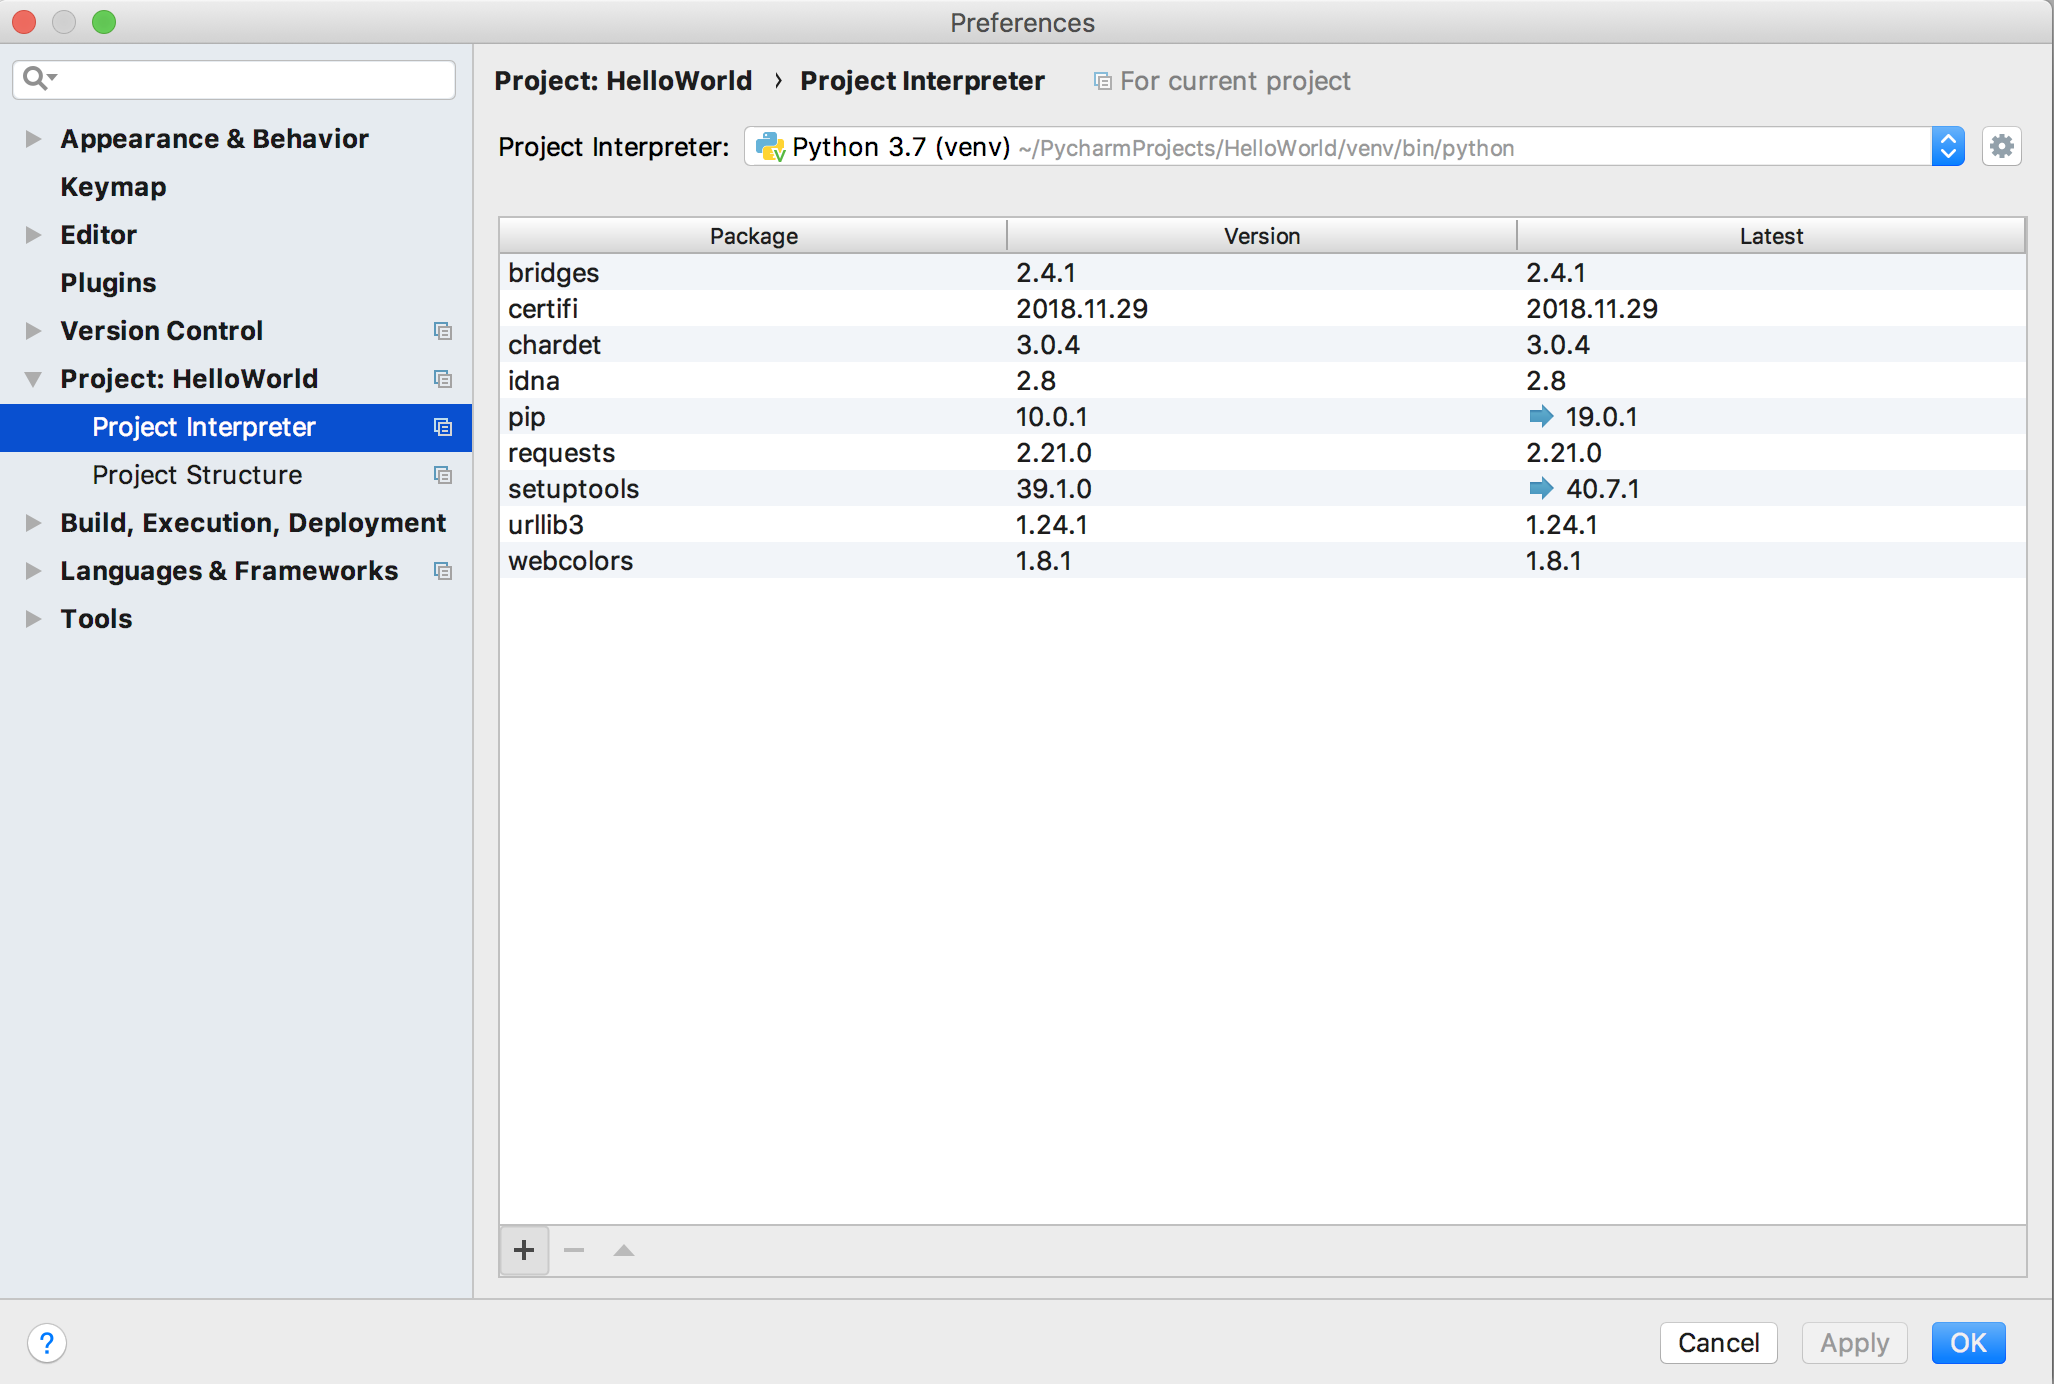
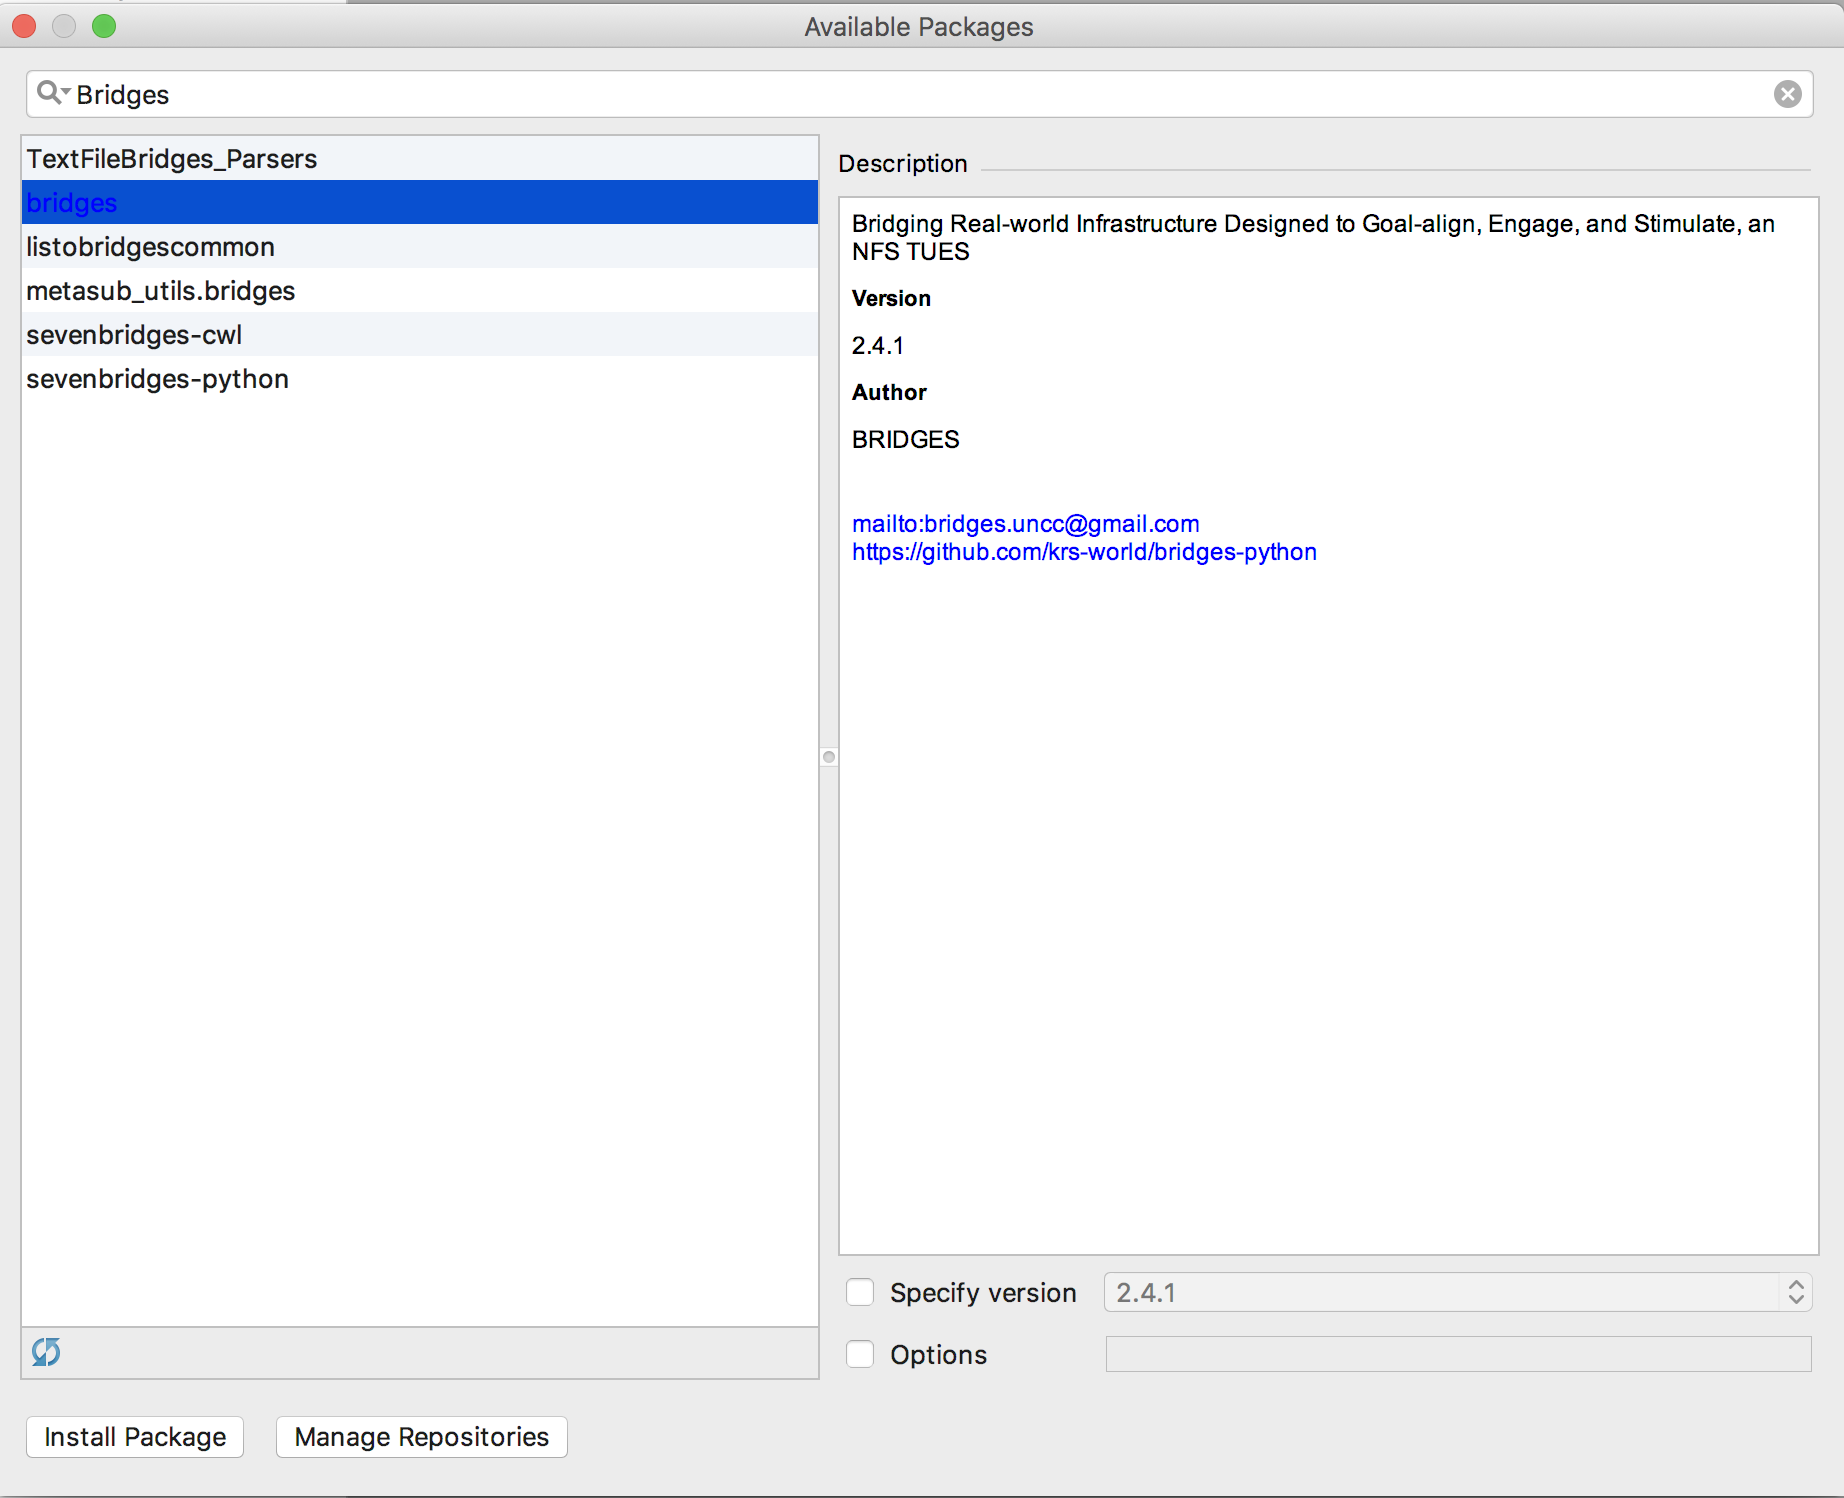
Step 1a: Create a new File
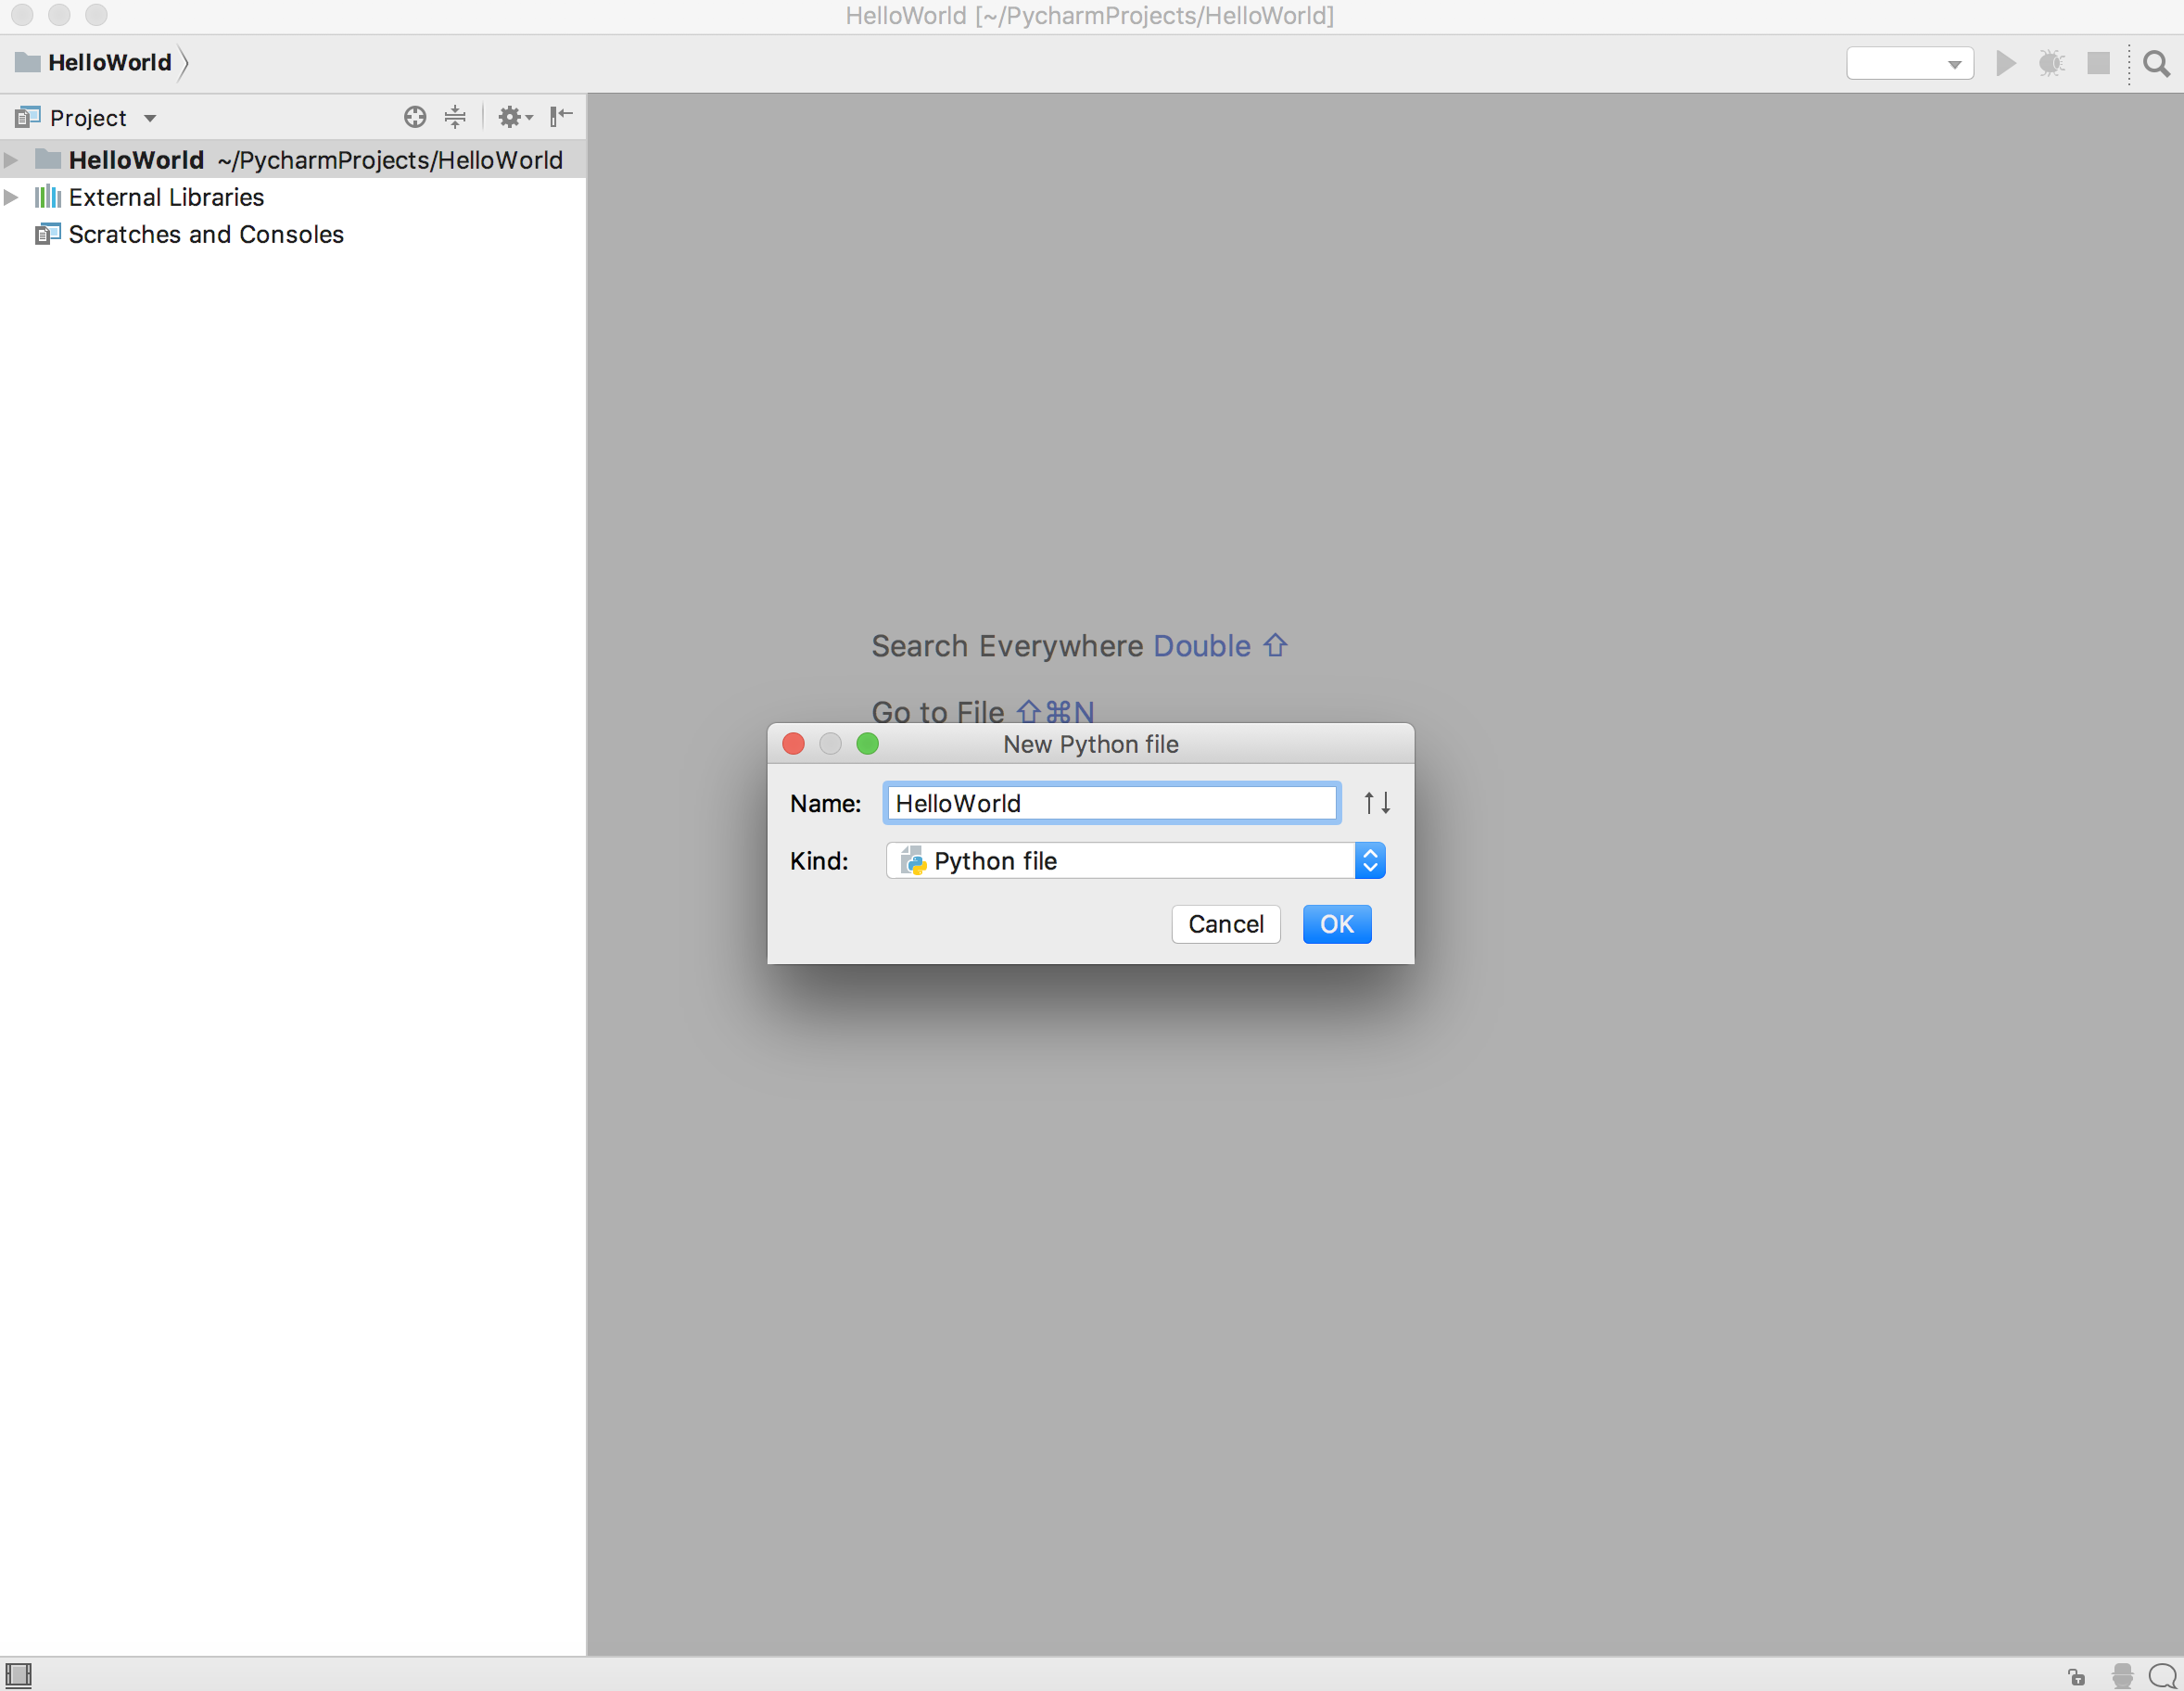
- Create a new class within your project
- File-->New-->Python File
|
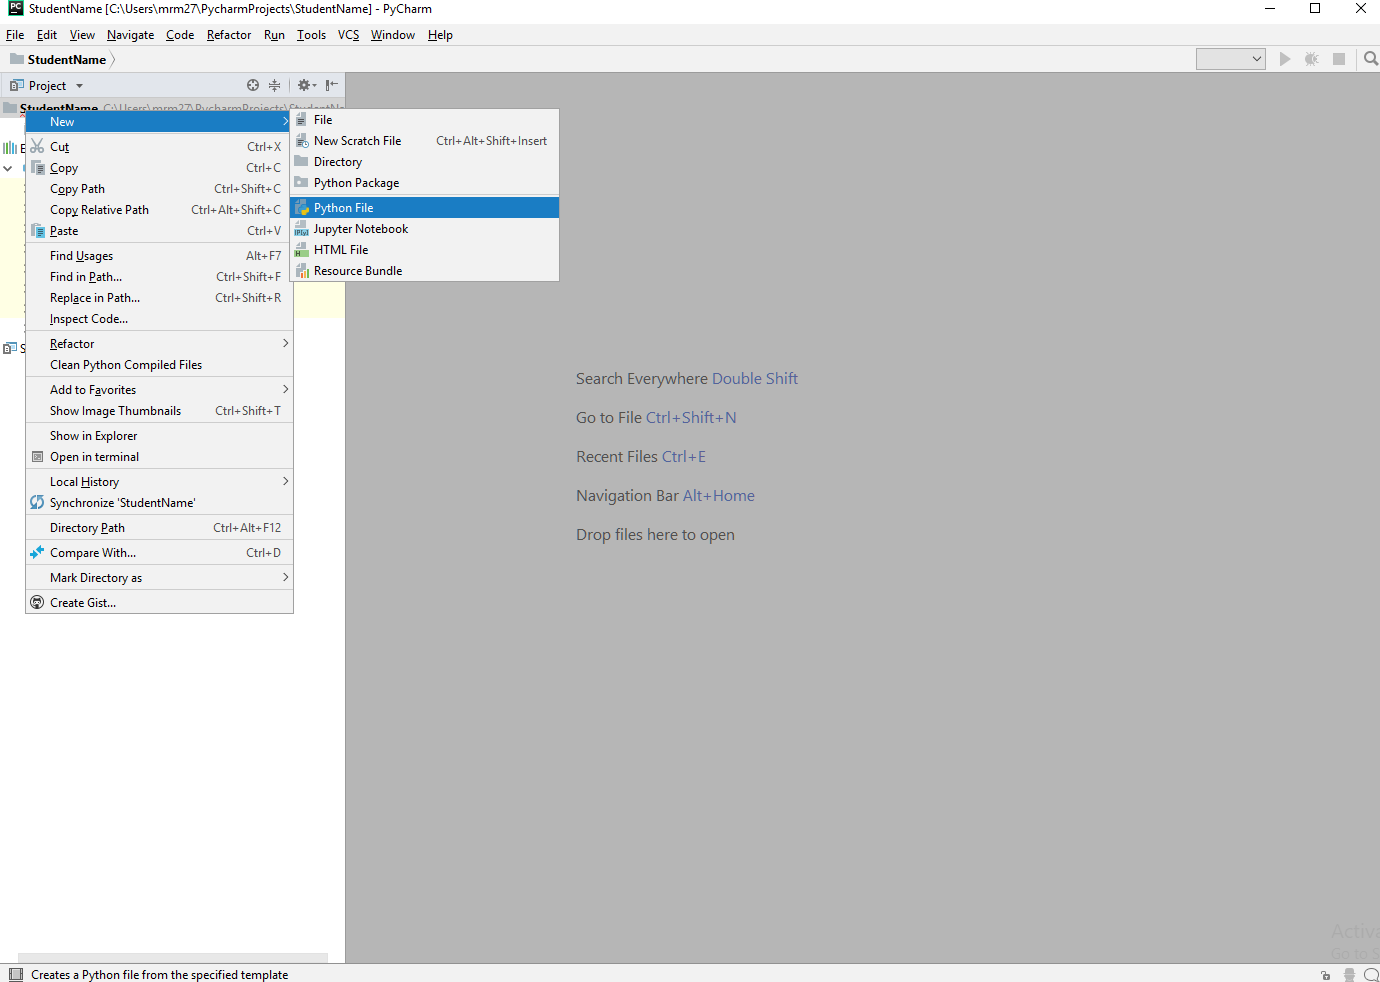
|
| Step 1b: Create a new File
|
|
Step 2: Now build the Bridges Program to
illustrate a singly linked list
- First import the relevant Bridges classes
|
from bridges.bridges import *
from bridges.sl_element import *
|
- Create the bridges object with your API Key and User ID.
|
bridges = Bridges(0, "YOUR_USER_ID", "YOUR_API_KEY")
|
- Create two singly-linked elements. Singly-linked elements
can be linked together to create a linked-list structure.
|
sle0 = SLelement("Hello", "")
sle1 = SLelement("World", "")
|
|
|
|
- Set visual attributes of the elements
|
sle0.get_visualizer().set_color("black")
sle0.get_visualizer().set_opacity(0.5)
sle1.get_visualizer().set_color("green")
|
- Pass the handle of your data structure (reference to the
first element) of your data structure
|
bridges.set_data_structure(sle0)
|
- Visualize the data structure
|
|
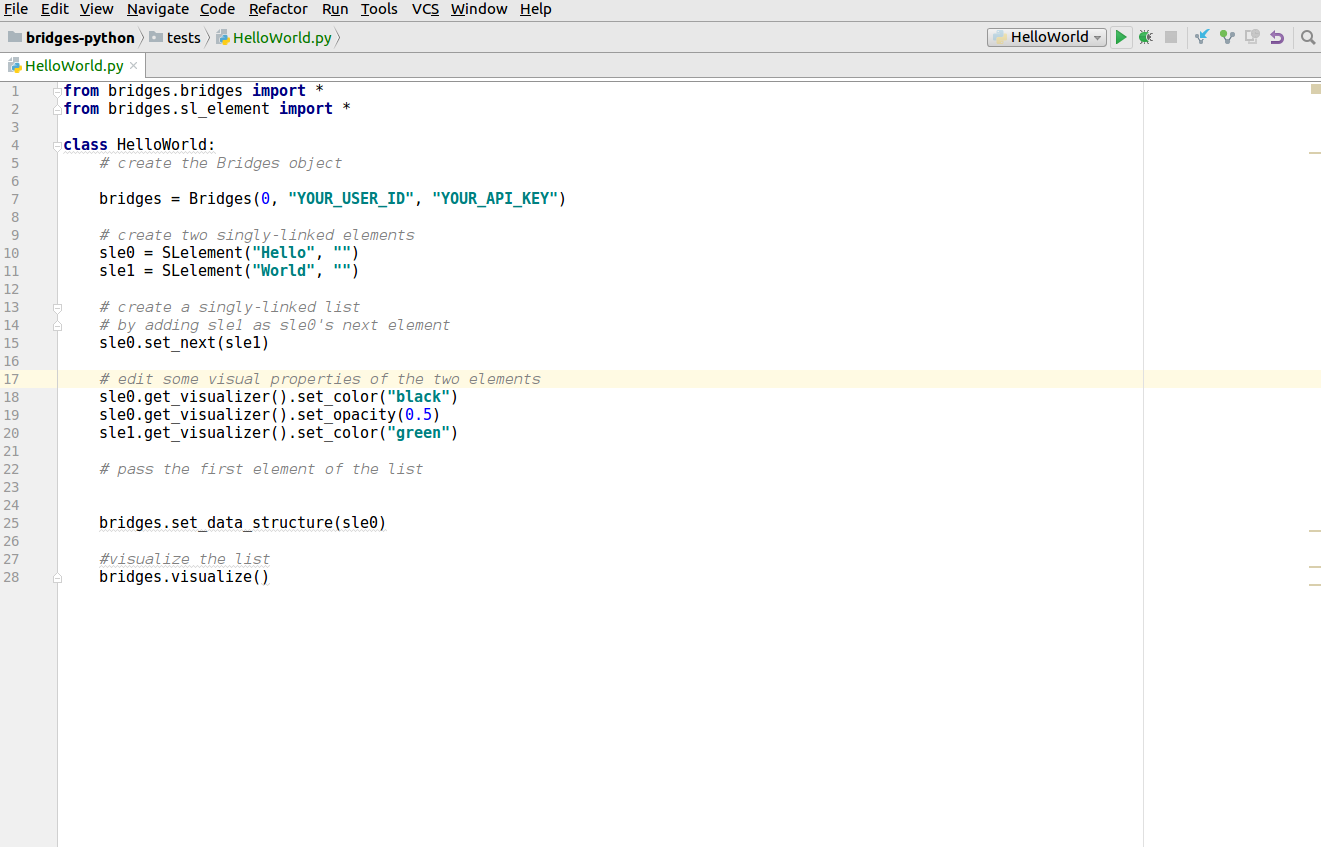
- To summarize, your HelloWorld.py should look like this:
|
from bridges.bridges import *
from bridges.sl_element import *
class HelloWorld:
#create the Bridges object
bridges = Bridges(0, "YOUR_USER_ID", "YOUR_API_KEY")
#create two singly-linked elements
sle0 = SLelement("Hello", "")
sle1 = SLelement("World", "")
# create a singly-linked list
# by adding sle1 as sle0's next element
sle0.set_next(sle1)
#edit some visual properties of the two elements
sle0.get_visualizer().set_color("black")
sle0.get_visualizer().set_opacity(0.5)
sle1.get_visualizer().set_color("green")
#pass the first element of the list
bridges.set_data_structure(sle0)
# visualize the list
bridges.visualize()
|
Step 3: Running your Bridges program
- Once your code is in, run your project
- Run-->Run
- Run --> HelloWorld
|
|
Step 4: Visualize your data structure
- If your code compiles correctly, the Eclipse console will
give you a link to the Bridges website. to view the
visualization. Copy/paste this link into your favorite
browser to view a visualization of the data structure
you just created.
|

|

