- Open PowerShell and run the following command:
wsl --install -d ubuntu
- Follow the prompts to create a local Ubuntu account; Remember the password you set!
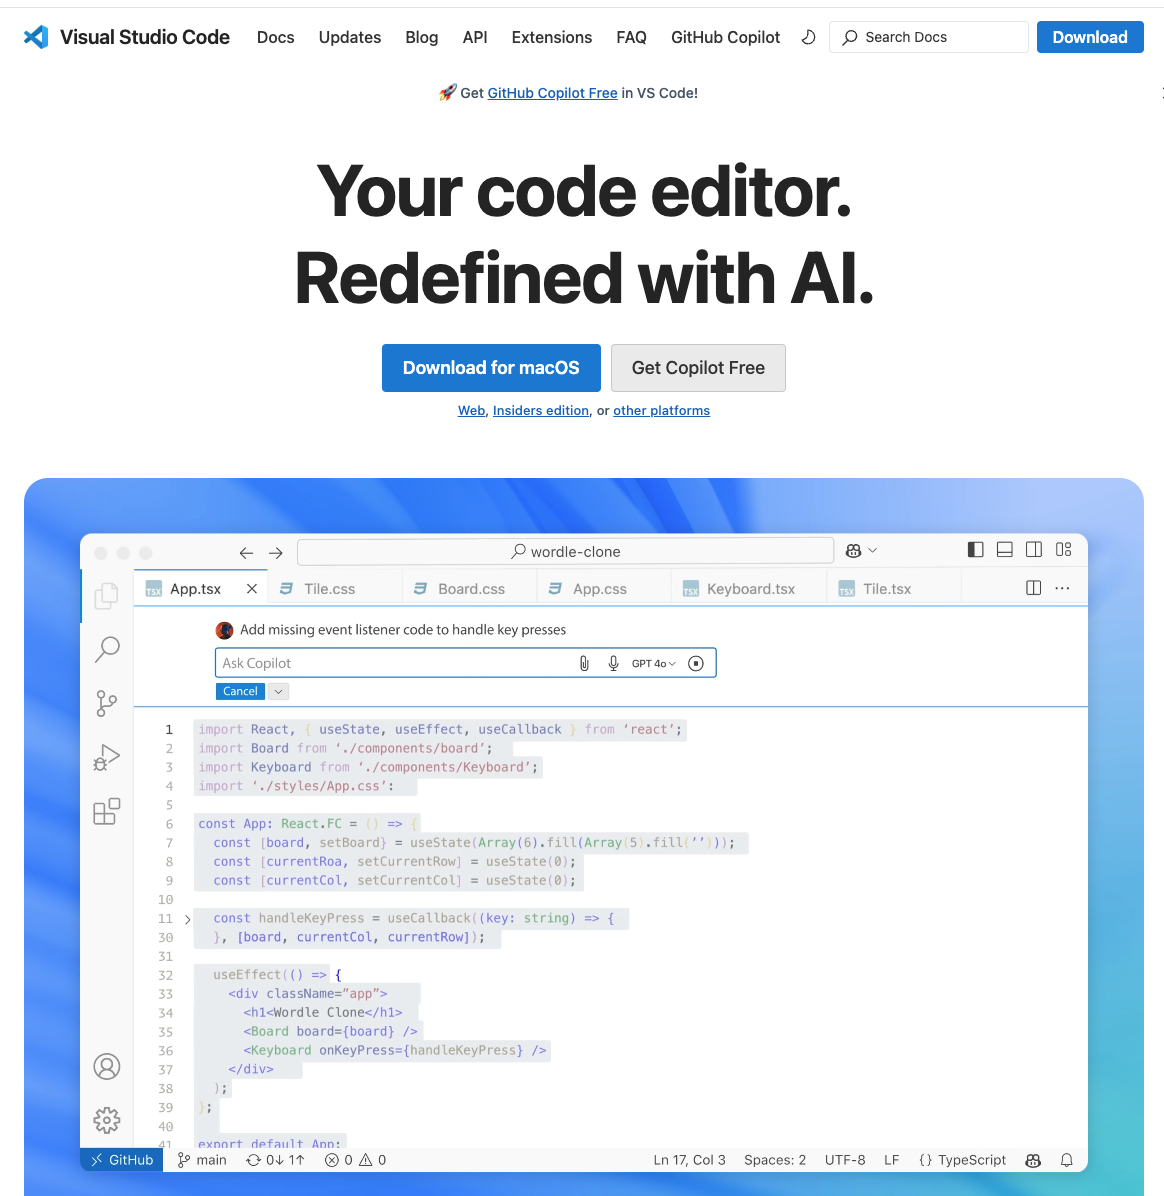
- If you do not have VS code installed, download it from VS Code Site and install it on your computer.

- Open VSCode
- Go to the Extensions tab and install the WSL Extension
- Follow the prompts to connect your WSL instance with VSCode
- Press 'ctrl + shift +' to open the terminal
- Run the following commands from the terminal:
sudo apt update
sudo apt install gcc
sudo apt install build-essential
sudo apt install g++-14
sudo apt install gdbsudo apt install libcurl4-openssl-dev
- Run the following commands from the terminal:

- At this point, you have an Ubuntu linux system on your Windows machine and you can directly work on it like any other Linux machine and run BRIDGES programs. The compiler is g++ and any additional needed tools can be installed using the apt tool.
- To use the VSCode IDE and Debugger, you will need to set up a project and add files to it and set up its configuration in a file called tasks.json
- Use VSCode's menus to create a new project and then create a file for your BRIDGES program.
- Go to the BRIDGES Tutorial Page and copy a C++ tutorial program into a file, for instance a singly linked list example.
- Copy paste this program into your source code file.
- Create a folder called .vscode in your project (alternately, the first time you hit the Play button, this will be created).
- Add this tasks.json file in the .vscode directory
- Your tasks.json, which is a JSON file, is used to build the compile command that will be used by VS code to execute your project. You will need to make the following changes to run BRIDGES programs without errors
- Take a look at that file using a text editor. Make sure your compile command is set to /usr/bin/g++
- Next look at the args variable, containing a number of options. It is a sequence of option flags and its corresponding values. You will need to modify two of the arguments that pertains to your BRIDGES installation:
- -I argument is the path to your BRIDGES include files; modify this path to where you placed your BRIDGES source files and point to its include folder
- -L argument is the path to your BRIDGES library; modify this path to where you placed your BRIDGES source files and point to its lib folder
- Hit the Play button to run your program
- If prompted, select Build with G++ from the dropdown
- You should see your compilation happening on your Terminal(Console) and you will see a web link appearing